Tuesday, July 2, 2013

Tutu for you!


Please tell me why you would spend $20 on 1 tutu for your child? 
Because they're freaking adorable and you can't put a dollar on cute, right? 

WRONG.

Times are tough yo. So sue me if my child rotates the same 3 giant headbands and doesn't have a plethora waiting to perfectly match every outfit I put her in. 

Oh the problems we face as mothers...

For this 4th of July, I wanted NG to look like a firework. However, every tutu I found that was firework-alicious (it's a word.) was $20+. You guys, it's just tulle and elastic. 

So, I decided to make it myself. Now, keep it simple if you have a little one you're making it for (ie: don't attach choking hazards). NG is 6 months so I'm only using tulle. I wanted sparkles but didn't want to deal with them getting in her little eyes. 
I found a silver net looking tulle and paired it with red, white and blue. I bought some elastic, measures it around her waist (while she napped- go momma!) and sewed it together. Note: an elastic headband works too.

Cut the tulle twice the length you want it, fold it in half, put it through the middle of the elastic and loop the two end pieces of tulle through the closed end piece of the tulle. It should look like this:


Keep adding more color between the spaces of your first color.


Sporadically place more color pieces in until you have your desired result. 


Now put it on your little cutie and take way too many pictures!


Wednesday, June 19, 2013

The Go-To Recipe

Nothing says it's time to get back on the horse than when the freaking thing wins a prize while you're gone. Such is the case with my dear blog! It's become a Staff Recommendation over at 20 Something Bloggers ! They mention me being gluten-free, which I am not. However, my lovely man is pretty intolerant so we do try to steer clear.  In honor of this...honor, I'm going to give you all my favorite go to recipe (which happens to be gluten free)!

Everyone needs a go-to recipe.  It also needs to be easy. If you have a decent spice rack and chicken on hand, this is going to be something you can do once and have memorized.
 
Also, I don't want to try and fool anyone. I try to eat well. I really do. But as I'm typing this post, I'm indulging in a nice bowl of ice cream with hot fudge. And a crushed up chocolate bar on it.
 
ON TO THE HEALTHY RECIPE...
 
Lemon Pepper Chicken
 
What you need:
  • About 3-4 large chicken breasts cut in half
  • EVOO
  • Lemon Pepper
  • Onion Salt
  • Garlic Powder
  • Sea salt grinder
  • Pepper grinder
 
What to do:
  1. Preheat your oven to 400 degrees
  2. Coat your chicken pieces with a liberal amount of Lemon Pepper
  3. Dust all of the pieces with onion salt and garlic powder
  4. Grind (about 1 turn per piece) sea salt over pieces
  5. Grind (about 2 turns per piece) pepper over pieces
  6. Put EVOO in a frying pan and turn your stove top on high
  7. When its almost hot (before it sizzles- or you will burn the crap out of your hand like I did) add your chicken pieces (as much as you can fit in).
  8. Cook each side for about a minute. This is called pan searing and locks in your flavor.
  9. Coat a glass dish in EVOO and dust it with a layer of all seasonings you used.
  10. Place your chicken pieces in the glass dish and dust the top of them with more seasoning IF NEEDED ( use your eyes, you can see how much is on the pieces).
  11. Cook on 400 for about 30 min, check (cut a piece in half) to see if they're done. If not, add another 5 minutes.
  12. Enjoy!


The picture shows this paired with rice (which is white but I honestly prefer wild rice) and green beans.  The recipe for my green beans is here.  Confession: the rice and green beans in this photo are not natural (*cough* from a box/frozen). In that, they were nasty and next time I'll just go to the store and get fresh things :)

Sunday, April 28, 2013

Welcome to the land of oil and honey...

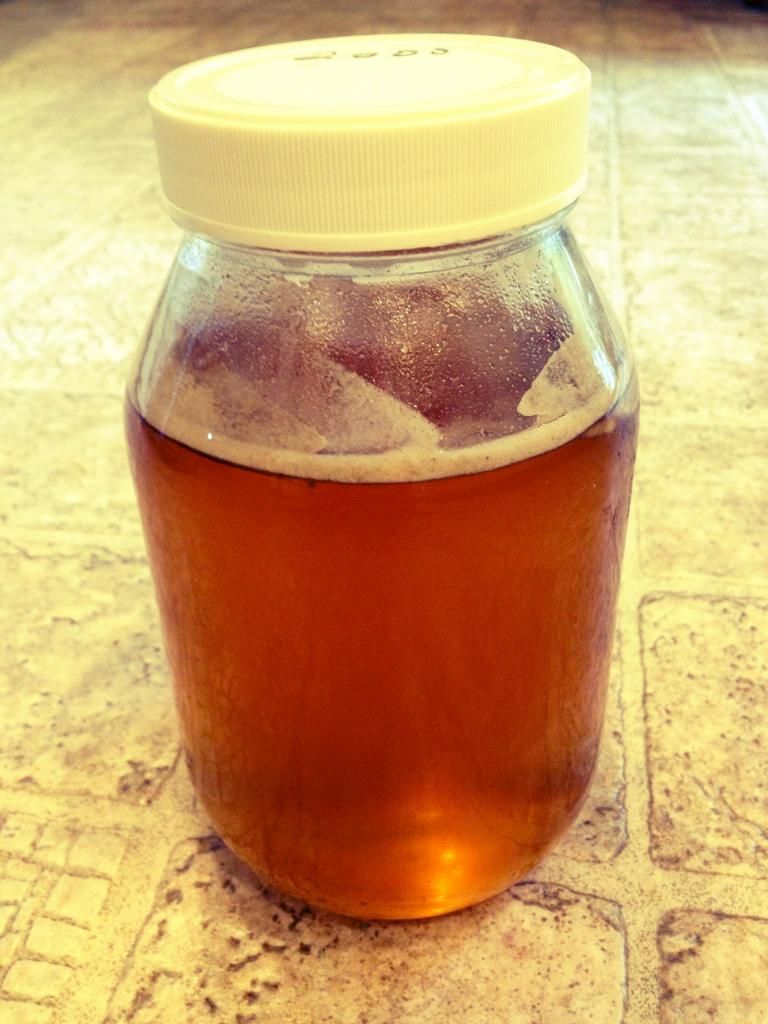
I've finally given up on any facial product sold in stores. I feel like all it does is dry out my skin more than necessary, leading to more of an over production of oil. Sick. No thanks. I've turned to food! Kind of. I have always LOVED honey. It's literally my go to for everything from sweetin' up my toast to curing the common cold (green tea and honey!). Now, I am using it on my face. It sounds like it would be a sticky mess but it really isn't. I keep a container of raw honey in the bathroom. Don't use the one from your kitchen..that's just not clean.
 
Honey Face Wash
 
For best results, use raw honey
 
  • After removing your makeup (with water. Coconut oil on eye makeup works wonders), pour a quarter sized amount of honey in your hand and massage it onto your face.
  • Get a wash rag wet with hot water, wring it out and set it on your face for about 10 seconds and then gently scrub the honey off your face
  • Rinse the cloth and do another once over on your face with it. Nobody likes sticky pillows in the morning.
  • Do this every morning and every night!
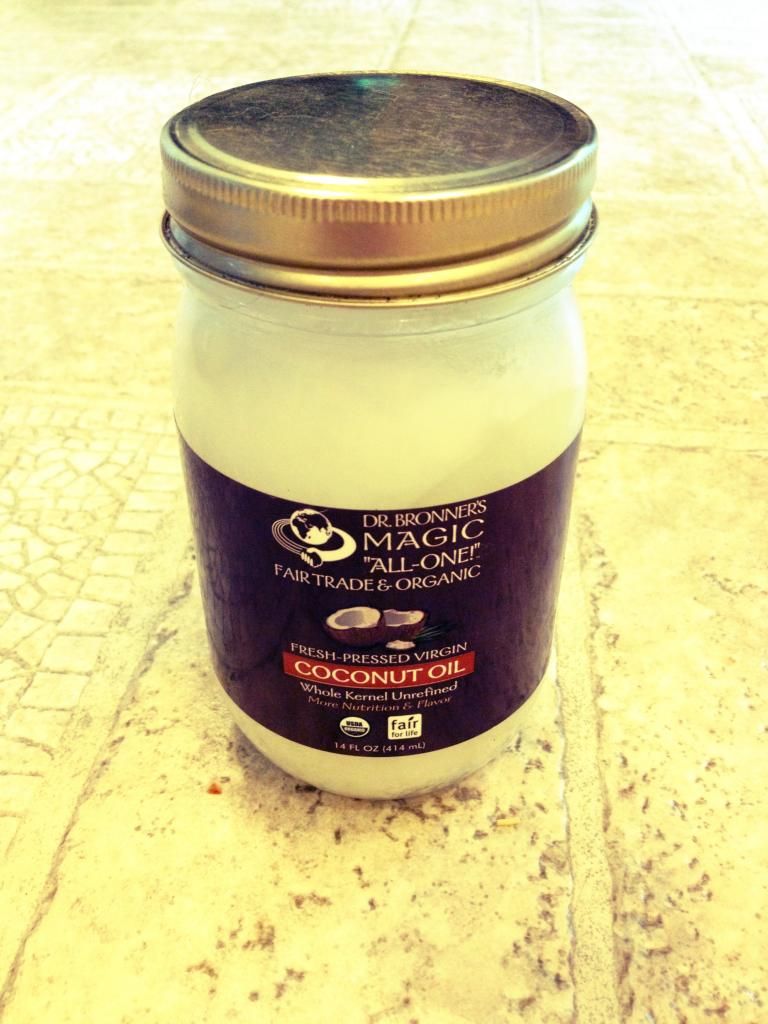
But, what will I use for moisturizer?? I have fallen in love with coconut oil. I actually was turned onto the idea by a friend at work.  We work in chlorine all day so we need something that can keep our skins pH balanced and moisturized. She has great skin and I noticed her putting coconut oil on. I asked her if it really works and she said it is AMAZING. So after doing my research I found plenty of evidence that coconut oil is the moisturizer I've been needing. I won't bore you with the all the details on why this works for your skin (you have access to google, if your really that much of a skeptic do the research yourself my friend) but I will tell you that the gist of it all is: good oil fights bad oil. If your skin has enough moisture on it, it will not feel the need to produce excess sebum (oil produced by the glands on your face- fun fact for the day for you!)
 
Coconut Oil Moisturizer
 
Un-refined is best. If you really hate the smell of natural coconut though, go with refined.
Coconut oil can be found at the grocery store with the olive oil.
 
 
  • After you've washed the honey off your face, apply a small amount (a little bit really does go a long way) of coconut oil to your face and neck
  • Do this every morning and every night! (I recommend blotting your face dry from the oil if you're applying makeup or you could end up a drippy mess depending on the consistency of your makeup)
Now once a week I like to do a facial. My favorite one right now is, of course, inclusive of honey :)
 
Honey Face Mask
 
 
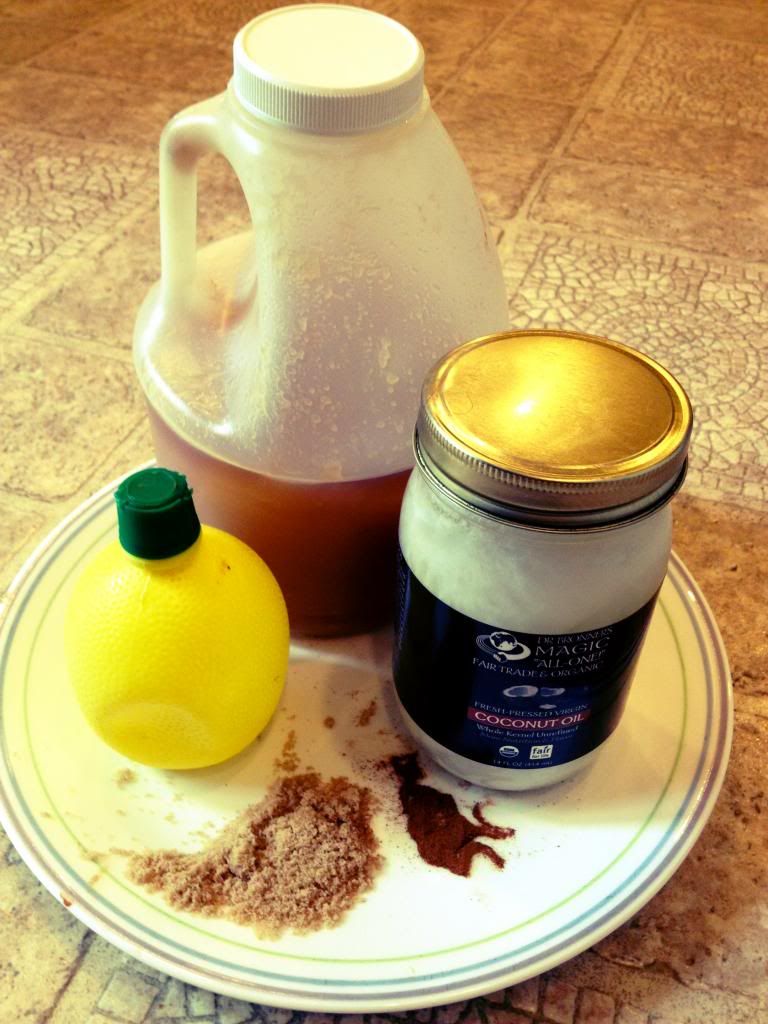
  • Mix 1 T of honey with 1 t(teaspoon) of brown sugar, 1/2 t cinnamon and about 5 drops of lemon juice
  • Massage mixture onto a clean damp face
  • Leave on while you brush your teeth
  • Get a wash rag wet with hot water, wring it out and lay it on your face for about 30 sec
  • Gently (since there are abrasives in the mixture) scrub the mask off your face
  • Rinse the wash rag and give your face another once over
  • Follow with coconut oil moisturizer
       *For added moisture, I will sometimes add 3 drops of Vitamin E oil to the mask.
 
In the time that I've been doing this all natural skin care regimen, I've noticed a huge change in my skins evenness as well as an added glow. Now there is no need for me to drop $20-$30 on a skin care routine that leaves my skin lackluster after a month. Let me know how it works for you and as always, tweak the recipe to what is best for your skin!  

Saturday, April 27, 2013

Cooking?? Me??

I don't cook.  Tim can attest to that one. I don't suck at it...I just don't do it. At least I didn't used to. We have a wedding coming up in 6 months and a 4 month old baby girl. We just don't have the extra funds to eat out every night. And Tim does not have the time to cook for me every night (like when I was pregnant...GOD I miss those days!!) I'm stepping up and practicing my wifely duties.  Let me make this clear: I do not believe in gender roles. I believe in a PARTNERSHIP. Everybody needs to pull their weight in a relationship.  Tim works full time and I only work part time. Therefore, I will be trying to cook more meals.  Since I'm not very good at doing the whole barefoot in the kitchen thing for TOO long..quick and easy meals are my favorite. I managed to cook 2 whole meals this week. That's pretty freaking good. I'm going to work my way up to cooking (or eating leftovers from what we already did cook) every night.

This week, I found success with 2 meals that I think (and I'm sure Tim agrees) were the BEE'S KNEES. I rarely follow recipes. I love going on allrecipes.com, finding a recipe and then combining methods from other users listed in the reviews. Definitely recommend that route since most people who take the time to even write a review, know something about cooking (note: I've never written a review).

My first meal was Rosemary Turkey Meatloaf with Honey Roasted Red Potatoes and Fresh Green Beans

 I'll give you the actual recipe and my alterations are in paranthesis :)

We love our greens :)

Meatloaf (362 calories per serv.)

What you need:
  • 1.5 lbs ground turkey
  • 2 C dry bread crumbs
  • 1 chopped onion (I used white)
  • 1 egg, beaten
  • 1 C milk (my healthy self used skim)
  • 1/2 C balsamic vinigar ( I used a 1/4 C and added a 1/4 C of worchestire sauce)
  • 1 clove garlic, minced
  • 1 teaspoon salt (I used a seasalt grinder and ground it 10 times in there)
  • 1 teaspoon of pepper (I used a pepper grinder and ground it 15 times in there- girl loves her pepper)
  • 1 1/2 T of fresh chopped rosemary (for geniuses like myself who had to google it- only the little needles, not the stick. Thanks.)
  • 1 C tomato sauce (I used ketchup. Classy gal here folks. Tastes the same!)
  • 3/4 C brown sugar
  • 1 T Dijon mustard (I used dry mustard)
What to do:
  1. Preheat oven to 350 F and lightly grease 9x5 loaf pan
  2. In a large mixing bowl toss in bread crumbs, onion, egg, milk, vinigar, w. sauce, salt, pepper and rosemary. Mix that all up. Then add the turkey and knead with your hands until it's all mixed up.
  3. Put the mixture in the pan and toss that puppy in the oven!
  4. Bake for 1 hour
  5. ( I take it out after 45 min then flip it onto a cooling rack and put that on a cookie sheet. I then combine the brown sugar, dry mustard and ketchup and smear it on top. Then I put it back in for 15 min. Makes it less soggy and doesn't crisp the topping as much)
Potatoes (155 calories per serv.)

What you need:
  • 1 lb red potatoes, quartered
  • 2 T diced onion (I used a whole onion)
  • 2 T butter, melted
  • 1 T honey (I used about 3)
  • 1 T dry mustard
  • 1 pinch of salt (I used a seasalt grinder and ground it 5 times)
  • 1 pinch of pepper (I used a pepper grinder and ground it 7 times)

What to do:
  1. Preheat oven to 375 F. Lightly coat a 11x7 baking dish with nonstick cooking spray (I used extra virgin olive oil- or EVOO as Rachel Ray puts it).
  2. Toss in your spuds and throw those onions on top. In a small bowl, combine the honey, dry mustard, melted butter, salt and pepper. Drizzle that over your potato/onion mix. (Next time I will be doubling the recipe for the topping)
  3. Bake in oven for 35 min. Stir every so often.
Green Beans (this one's my own recipe)

What you need:
  • 1 1/2 handfuls of fresh cut green beans
  • 2 T Extra Virgin Olive Oil (EVOO from here on out)
  • 1 T lemon juice
  • Pepper grinder
  • Sea Salt Grinder
What to do:
  1. Coat a frying pan with 1 T of EVOO and turn the heat on med/high
  2. Toss in your beans and put the last T of EVOO on them as well as the t of lemon juice
  3. Mix that around while it cooks
  4. Taste a bean to see how it feels. It should have a bit of crunch to it but not have any sogginess (lets not use that word again.)
  5. If they're done, take both grinders and put them on the setting that makes the salt and pepper grain sizes the largest. Give it about 7 turns from each and mix your beans.

I hope this meal is as easy for you as it was for me. Definitely experiment and use ingredients that YOU enjoy! That's what I did and that's why we loved it so much :)